Having a good environment is a must when you want to do binary exploitaton. Here I will show you how to set up a simple environment using Ubuntu and WSL2 so you can straight up jump into finding and writing your exploits.
Agenda
Things we will be setting up:
- Ubuntu inside our Windows WSL2
- Pwntools library for writing exploits
- PwnDbg for debugging and finding vulnerability on programms
Setting up Ubuntu on WSL2
Change WSL version to 2
wsl --set-default-version 2
Searching for our distribution in the online marketplace
wsl --list --online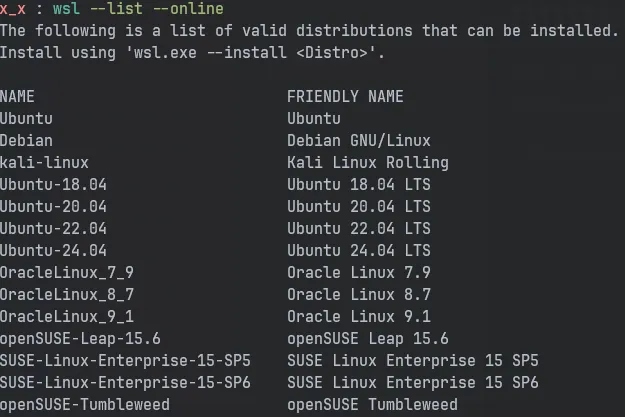
Installing our distribution with a suitable version. Here I will be instaling Ubuntu 24.04 which comes under their LTS
wsl --install -d Ubuntu-24.04
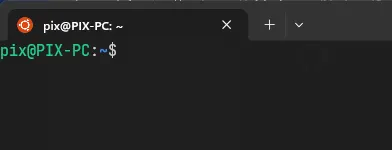
After the installation, it will prompt you to set up a user with a password. After which it will drop you to your user shell
and you should be able to see something like this.
Configuring 32-bit environment
Since the distribution we installed is of 64-bit, we must set it up to run 32-bit programs as well. Its very common in CTFs that we receive 32-bit binaries.
Installing all the necessary packages and libraries.
sudo dpkg --add-architecture i386sudo apt-get update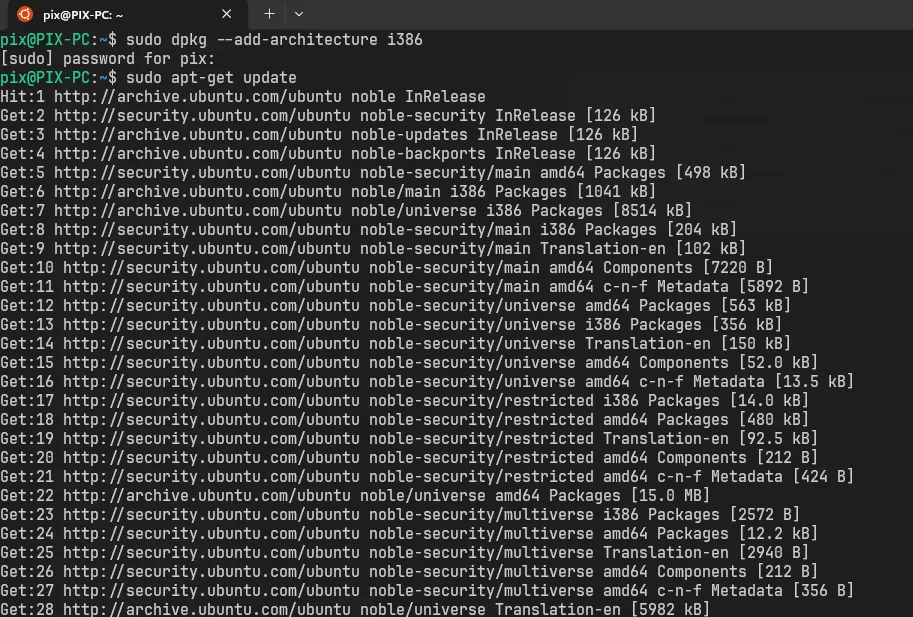
sudo apt install build-essential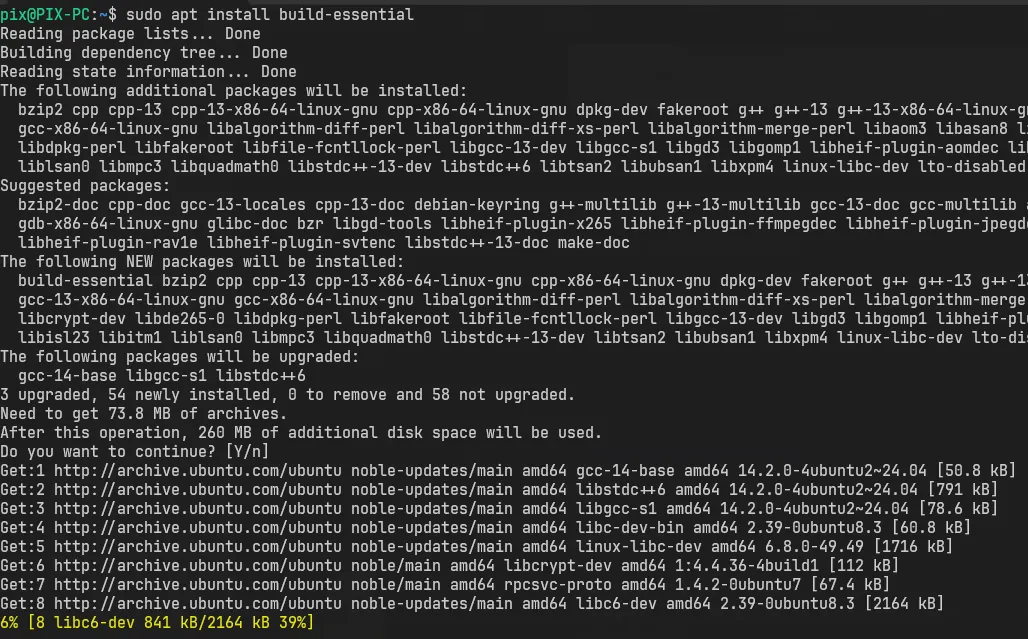
sudo apt install gcc-multilib
Setting up PwnTools library
Pwntools is a CTF framework and exploit development library. Written in Python, it is designed for rapid prototyping and development, and intended to make exploit writing as simple as possible.
sudo apt-get updatesudo apt-get install python3 python3-pip python3-dev git libssl-dev libffi-dev build-essentialpython3 -m pip install --upgrade pippython3 -m pip install --upgrade pwntools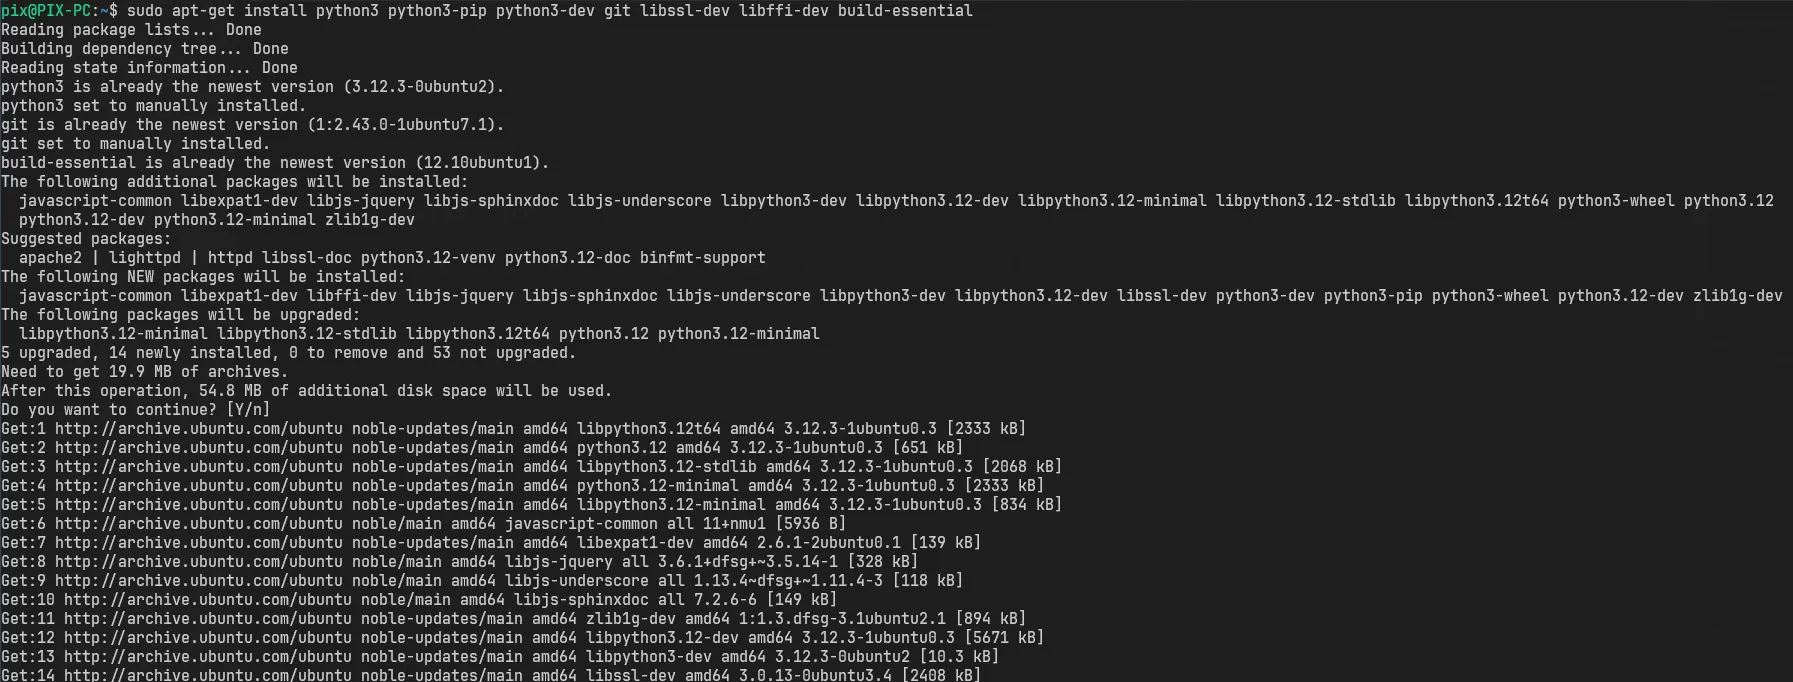
Working around the PIP upgrade error

There are many solutions to it. The best and the recommended one is to set up a virtual environment.
The second would be to use the --break-system-packages tag with our pip command and
the third is to set up a config so that we dont have to pass the tag everytime we use pip.
Warning
NOTE! I would still recommend to set up an virtual environment!
Lets set up a config for our pip
mkdir .configmkdir .config/piptouch .config/pip/pip.confedit pip.conf
[global]break-system-packages = trueNow we should be able to continue our installing without any errors.

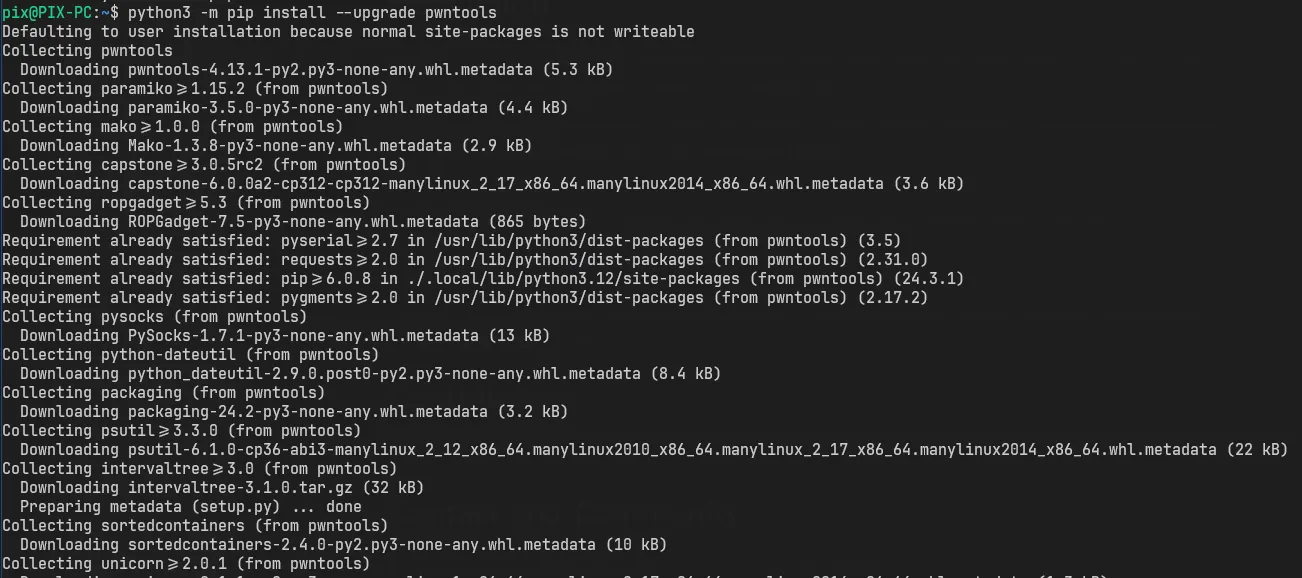
We can confirm our installation by loading the library into Python

Setting up PwnDbg
PwnDbg is a GDB plug-in that makes debugging with GDB suck less, with a focus on features needed by low-level software developers, hardware hackers, reverse-engineers and exploit developers.
First lets start by installing gdb
sudo apt install gdb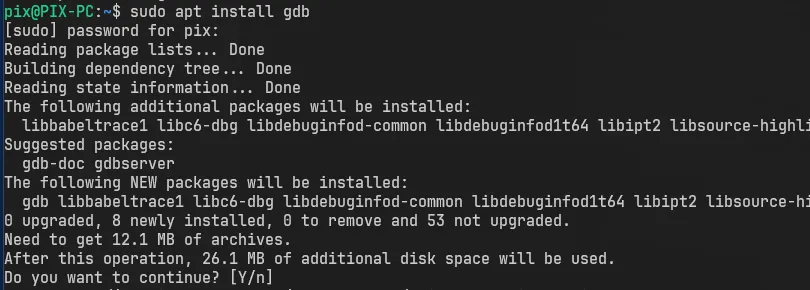
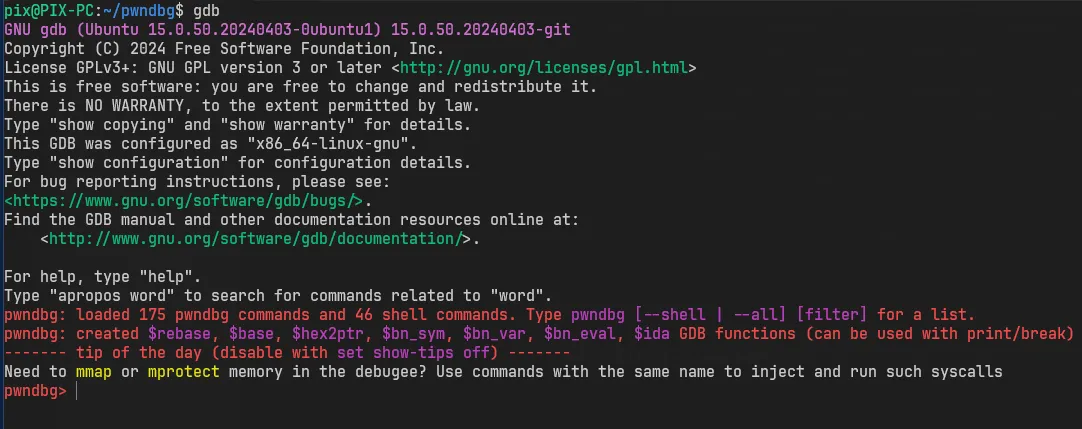
Installing and setting up PwnDbg
git clone https://github.com/pwndbg/pwndbgcd pwndbg./setup.sh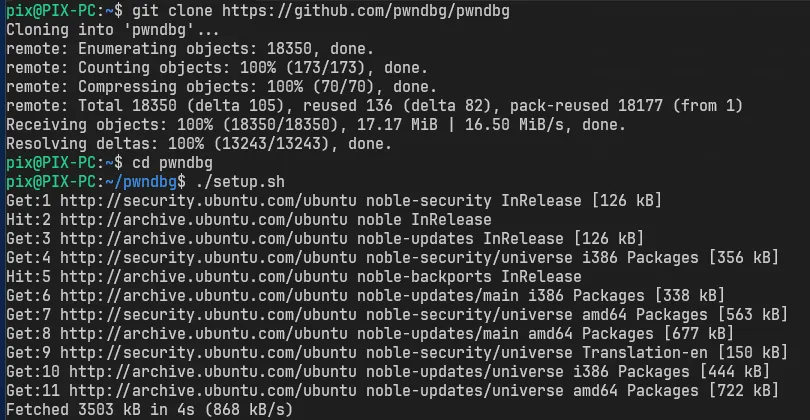
Resources
- PwnTools - http://pwntools.com/
- PwnDbg - https://pwndbg.re/
- How to install Linux on Windows with WSL
- Windows Subsystem for Linux
FAQ
What to do after this?
Well, I would suggest installing a code editor such as VSCode on your host machine for you to write exploits or you can be a chad and install neovim on your linux.
After that you can set up a disassembler and decompiler of your choice. There are many to choose from but these are some of my picks:
Now that you are all set, the only thing left is to start hacking and writing exploits